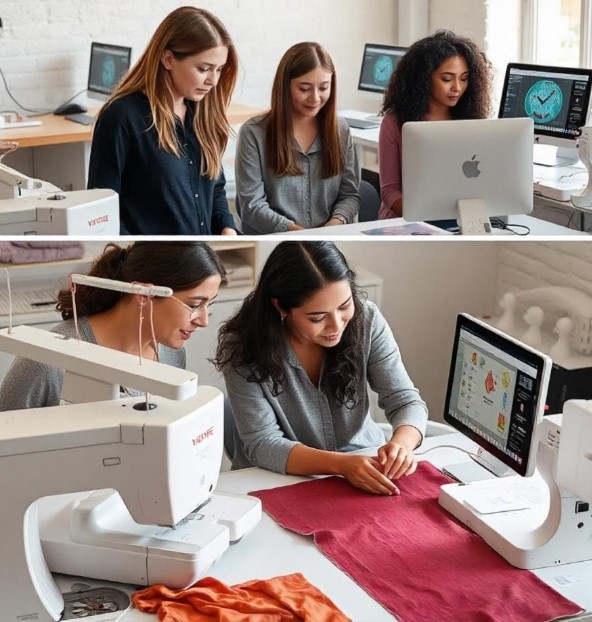
Embroidery gives a clean and rich look to a brand. A stitched logo on a cap, shirt, or bag can make a business look more pro and strong. Many brands use embroidery to show their name in a neat and long-lasting way.But a logo can’t go straight from a normal image to a sewing machine. A logo must be set up the right way first. The design must be clear. The lines must be smooth. The colors must be simple. When the logo is ready, the sewing machine can stitch it with ease and the final look will be neat.Many people ask how to Convert Business Logo to SEW File Format so it can run on an embroidery machine.
This step is part of the digitizing process. It turns a simple logo into a file that tells the machine where to stitch, what path to follow, and which color to use.In this guide, we will walk through smart tips that help you prepare your business logo for sewing machine embroidery. These tips are based on real work in the embroidery field. If you follow them, your logo will stitch clean and look great on fabric.
Why Logo Preparation Matters for Embroidery
Embroidery machines are smart, but they need clear instructions. A normal image file does not give those instructions. It only shows pixels and colors.
An embroidery file works in a different way. It uses stitch paths. It tells the machine:
- where the needle should move
- how long each stitch should be
- which thread color to use
- where to start and stop
If the logo is not prepared well, the machine may create loose stitches, messy edges, or thread breaks. That is why proper preparation is very important.
Common Problems With Unprepared Logos
Many logos look great on screens but fail during stitching. Here are some common issues.
Too Many Tiny Details
Small text or thin shapes may not stitch well.
Very Small Lettering
Tiny letters can become messy thread knots.
Too Many Colors
Every color means a thread change. Too many colors slow down the process.
Low Quality Images
Blurry images make digitizing harder and less accurate.
When you fix these issues early, the embroidery result becomes much better.
Start With a High Quality Logo File
The first step is to use a clear and sharp logo.
Embroidery digitizers work best with high-quality files. Clean designs help them see shapes and edges easily.
Best File Types to Use
Some file types are better than others.
Vector Files
Vector logos are the best option.
Examples include:
- AI
- EPS
- SVG
These files keep shapes smooth at any size.
High Resolution Images
If a vector file is not available, use a high-resolution image.
Good formats include:
- PNG
- JPG
The image should be large and clear. Avoid pixelated designs.
Why Quality Matters
Clear artwork saves time. It also helps the digitizer create smoother stitches.
A sharp design means fewer errors during embroidery.
Simplify the Logo Design
Not every logo works well in thread. Thread is thicker than ink. That means some parts of the design must be simplified.
Remove Extra Details
Tiny design elements often disappear when stitched.
Good examples of items to remove include:
- very small shapes
- thin decorative lines
- complex textures
Simple logos stitch much better.
Make Shapes Bold
Thicker shapes produce stronger embroidery.
Thin outlines may break or look uneven.
Try to use bold shapes instead of tiny ones.
Combine Small Elements
If the logo has many small pieces, combine them into larger shapes.
This keeps the design clean and easy to stitch.
Choose the Right Logo Size
Size plays a big role in embroidery.
A design that is too small may lose detail. A design that is too large may not fit the product.
Common Embroidery Sizes
Here are some common logo sizes used in embroidery.
Left Chest Logo
About 3 to 4 inches wide.
Cap Logo
About 2 to 2.5 inches wide.
Jacket Back Logo
Large designs around 8 to 10 inches wide.
Test the Size
Before digitizing, test the size on the product.
Print the logo on paper. Place it on the shirt or cap. This helps you see if the size looks right.
Reduce the Number of Colors
Thread changes take time. They also increase the cost of embroidery.
A smart logo design uses fewer colors.
Ideal Color Range
Most embroidery designs work best with:
- 3 to 6 thread colors
This keeps the design clean and easy to manage.
Match Thread Colors
Thread colors may look different from digital colors.
A digitizer usually matches thread shades as closely as possible.
Some thread brands also have color charts to help match shades.
Understand Stitch Types
Different shapes require different stitch styles.
Knowing this helps when preparing a logo.
Running Stitch
A running stitch is a simple line of stitches.
It works well for:
- thin outlines
- small details
Satin Stitch
Satin stitch creates a smooth and shiny look.
It is perfect for:
- text
- borders
- bold lines
Fill Stitch
Fill stitch covers large areas.
It is used for:
- big shapes
- backgrounds
A skilled digitizer selects the best stitch type for each part of the logo.
Keep Text Clear and Readable
Text is one of the hardest parts of embroidery.
Small letters can quickly become unreadable.
Minimum Text Size
Most embroidery experts suggest a minimum height of:
- about 4 to 5 mm for small text
Anything smaller may lose detail.
Use Simple Fonts
Fancy fonts often cause problems.
Choose fonts that are:
- bold
- clean
- easy to read
Sans serif fonts work very well in embroidery.
Avoid Thin Letter Strokes
Thin letters may break during stitching.
Thicker fonts create stronger designs.
Pay Attention to Fabric Type
The fabric also affects how the logo should be prepared.
Different fabrics behave in different ways.
Thick Fabrics
Examples include:
- jackets
- denim
- canvas
These fabrics support dense stitching.
Soft Fabrics
Examples include:
- t-shirts
- polo shirts
- fleece
Soft fabrics may stretch during stitching.
Digitizers often adjust stitch density to match the fabric type.
Plan the Stitch Direction
Stitch direction affects the final look of embroidery.
It also affects how light reflects on the thread.
Why Stitch Direction Matters
Different stitch angles can:
- add depth
- create texture
- improve readability
For example, two shapes with different stitch angles appear more defined.
Prevent Fabric Pull
Correct stitch direction also prevents fabric from pulling or wrinkling.
Experienced digitizers carefully plan stitch paths before production.
Test the Design Before Full Production
Testing is a key step in embroidery.
Even well-digitized designs should be tested first.
Run a Sample Stitch
Create a sample on scrap fabric.
This test helps check:
- stitch quality
- color match
- design size
Fix Any Issues
If problems appear, adjust the design.
Small edits can improve the final result greatly.
Testing saves time and prevents costly mistakes.
Work With Skilled Digitizers
Embroidery digitizing is both art and skill.
A trained digitizer understands how machines work and how thread behaves.
They know how to convert a flat logo into a stitch design.
What Expert Digitizers Do
Professional digitizers:
- clean up the artwork
- set stitch paths
- choose stitch types
- adjust density
- test the design
This process ensures the logo stitches smoothly.
Why Experience Matters
Experienced digitizers can spot problems early.
They know how different fabrics and machines react.
Their knowledge helps produce high-quality embroidery every time.
Common Mistakes to Avoid
Many beginners make simple mistakes when preparing a logo.
Avoiding these issues can save time and money.
Using Very Small Designs
Tiny logos often lose clarity.
Always test the design size first.
Ignoring Stitch Limits
Thread has limits. Very thin details may break.
Keep shapes bold and clear.
Using Too Many Colors
Too many colors slow down embroidery and raise costs.
Simplify the color palette.
Skipping Test Runs
Testing helps catch errors early.
Never skip the sample stitch step.
Helpful Tools for Logo Preparation
Several tools help prepare artwork for embroidery.
These tools clean designs and make editing easier.
Graphic Design Software
Programs like:
- Adobe Illustrator
- CorelDRAW
These tools help adjust shapes and simplify logos.
Embroidery Digitizing Software
Special software converts artwork into stitch files.
Popular options include:
- Wilcom
- Hatch
- Brother PE-Design
These programs allow full control of stitch paths.
Final Thoughts
Embroidery is a powerful way to show a business brand. A well-stitched logo can last for years and keep its strong look.
But great embroidery always begins with proper logo preparation. Clean artwork, simple shapes, bold text, and smart color choices make a big difference.
When a logo is prepared correctly, the sewing machine can stitch it smoothly. The final design looks neat, clear, and professional.
By following the tips in this guide, you can prepare your business logo the right way. With the right process and expert digitizing, your logo will turn into a strong embroidery design that stands out on any fabric.